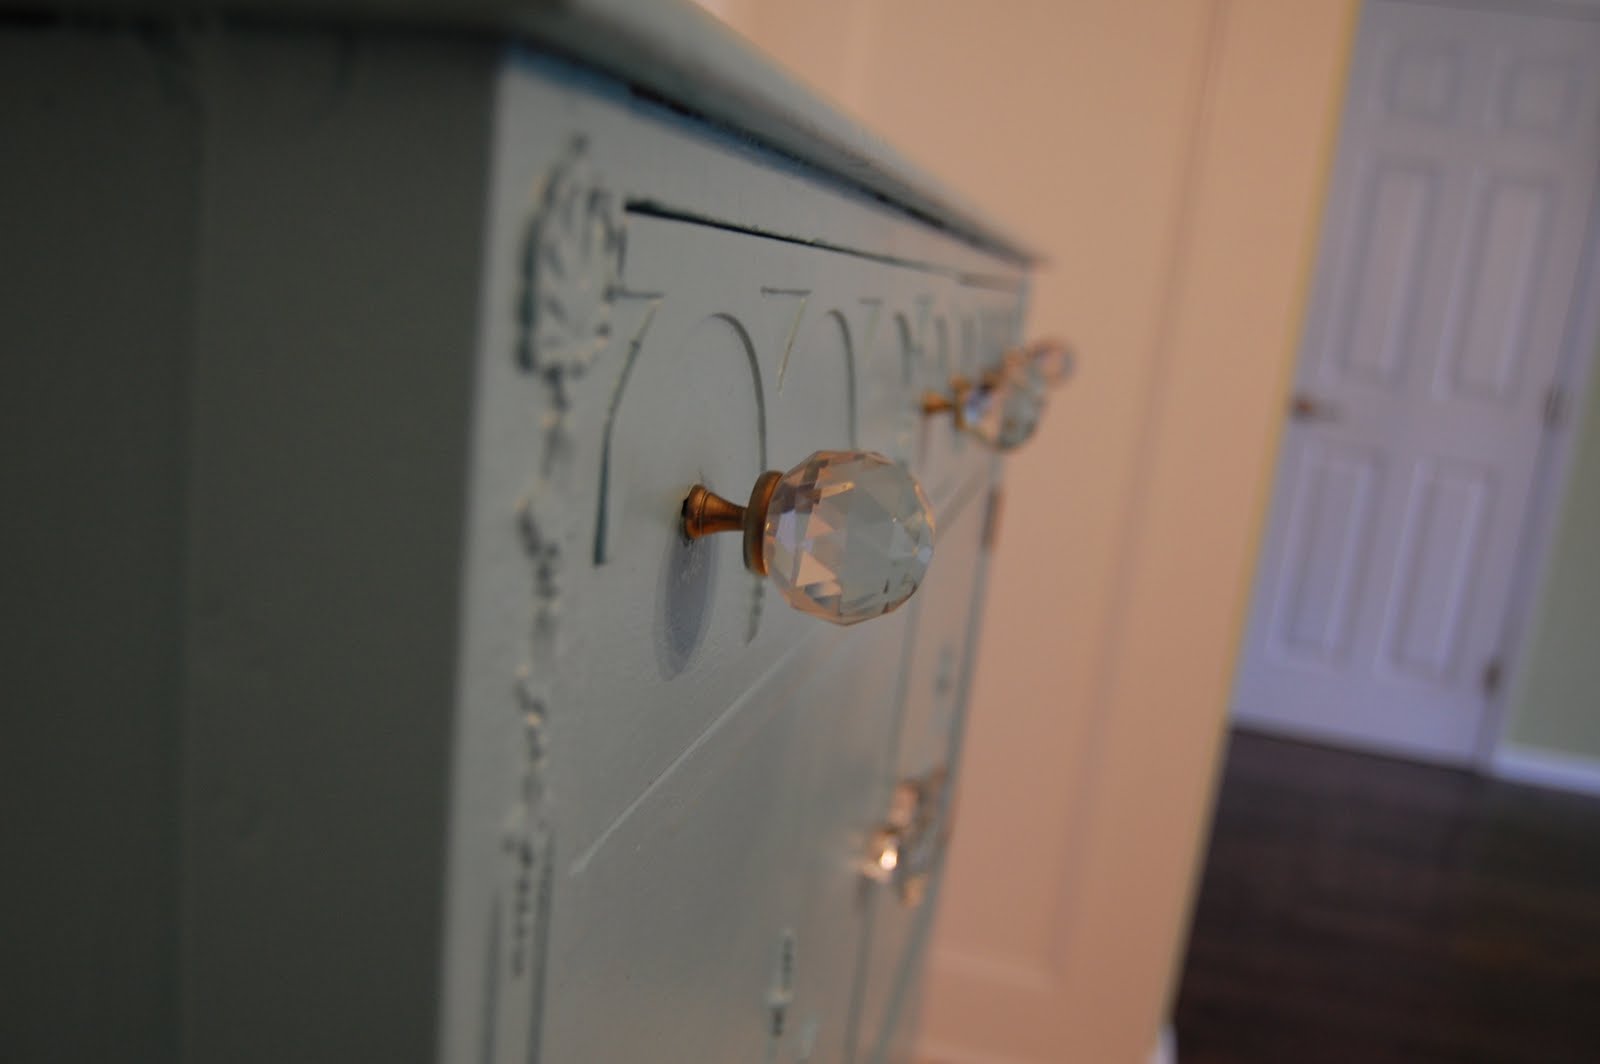
Top of the morning to ya! In honor of St. Patty's day I thought I'd post my most recent project- a green desk. (what great timing, right?)
My mom & I found this desk at our favorite Thrift Store & it was in pretty great condition for a smoking hot price. I then painted it a mixture of greens and blues that I had in my paint collection. After painting, I glazed it & roughed it up a bit. I found the knobs at Hobby Lobby- which by the way, has the BEST selection of knobs ever for the BEST prices. I love how it turned out!
Before:

After:


Also, I have had a lot of questions about how I paint and what I do, so I thought I'd share my tips. When I get a piece, I first clean it off - usually just with a damp rag, but some people use soap and water in case of grease. I'm usually too lazy to get the soap.
After it is clean, I sand it all over- with just a sanding block & a piece of sand paper.
Then, I paint it. I paint with a small foam roller brush, a paintbrush, and a sponge brush. The paints I use are just normal indoor house-paint. I use anywhere from semi-gloss paint to eggshell. It just depends on the project or the paints I already have.
(After you paint & the paint is dry you can glaze it & distress it or just leave as is.)
After it is dry- usually 24 hours- I apply polycrylic (the protective coating) with a paintbrush.

I bought my polycrylic at Walmart, and i'm sure you can get it probably at any paint store. Some people use a wipe on poly, so I'm sure that would work too, I've just never tried it.
Well, I think that is it. Let me know if you have any other questions! =)


 The kitchen before:
 After:
 The Laundry Room before:
 Master entry:
 Master before:


 After:


 The landing (no before):


 Cooper's Bedroom before:

 Play room (no before). Just picture nasty orange EVERYWHERE and the ugliest light fixture ever: